How to activate and deactivate ERI

How to Deactivate any existing ERI
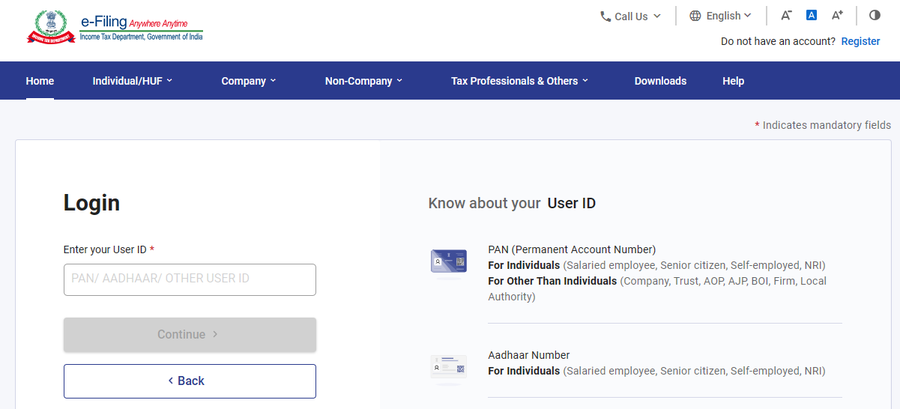
- Login to ITD portal.
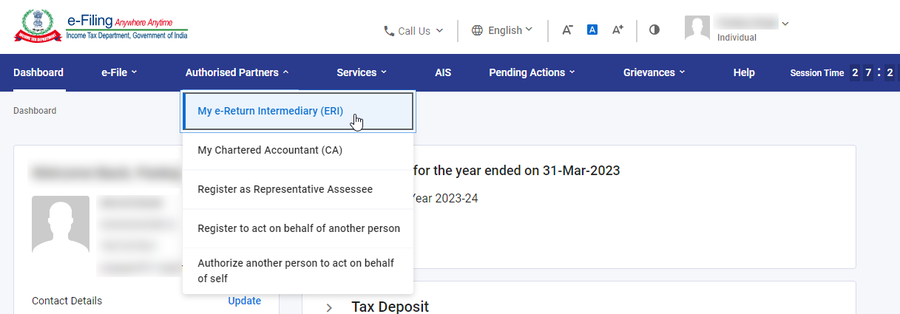
2. After login you will be redirected to the Dashboard.
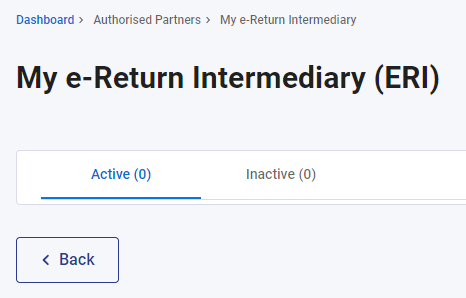
3. From the top menu bar click on Authorized partners > My e-Return Intermediary (ERI)
4. You will see two options. Active and Inactive.
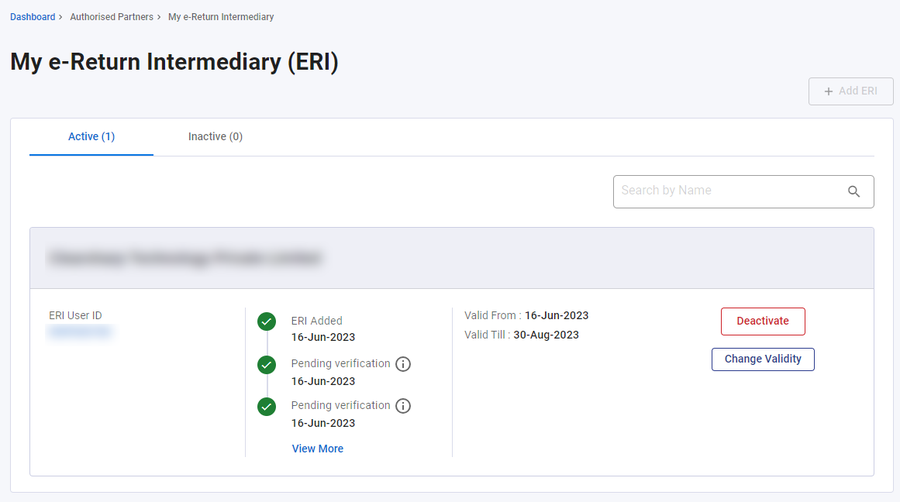
5. To deactivate current ERI from active list, Click on Deactivate. The name of the ERI will be shown on the top of every list.

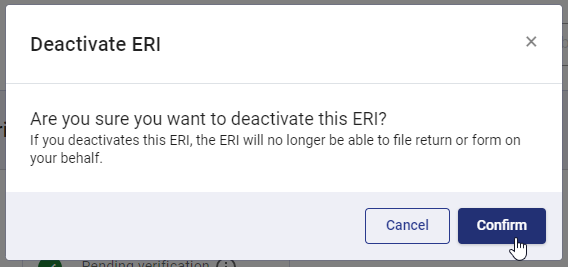
6. A popup will come. Click on confirm to remove current ERI.
7. Once deactivated, you will see a success message.

8. As you can see there are no active ERI now.
How to add Taxspanner as your ERI
- Visit https://taxspanner.com/
- Click on login button.

3. Once you are on the login page, please fill in your login credentials, and click on login button to go to dashboard.
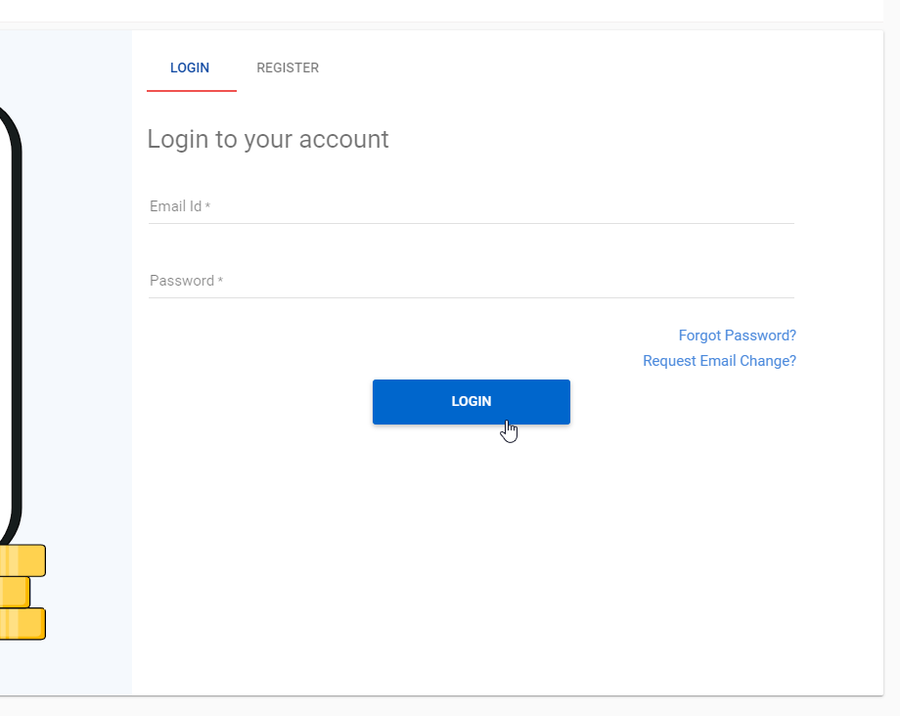
4. If you do not have an account, please create an account by click on register. And then login again afterwards.

5. Once you login you will be redirected to the dashboard.
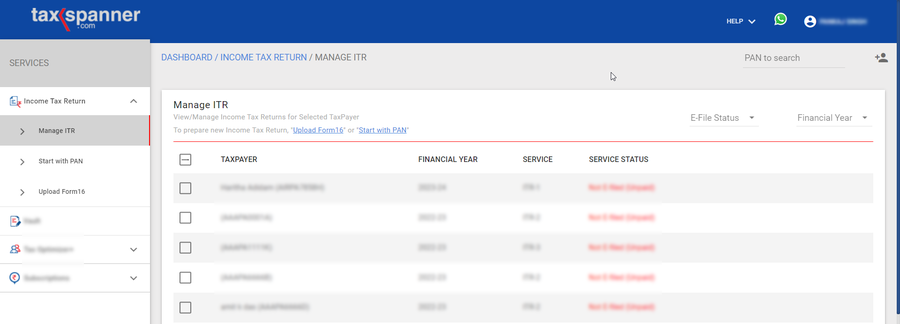
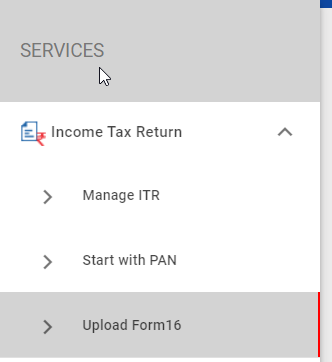
6. You can start filing either with your PAN or by uploading your Form 16. You will find this option on top left menu under Services > Income tax return > Start with pan or Upload form 16.
7. I will demonstrate you using PAN.
8. Click on Start with PAN
9. Enter PAN details and click submit

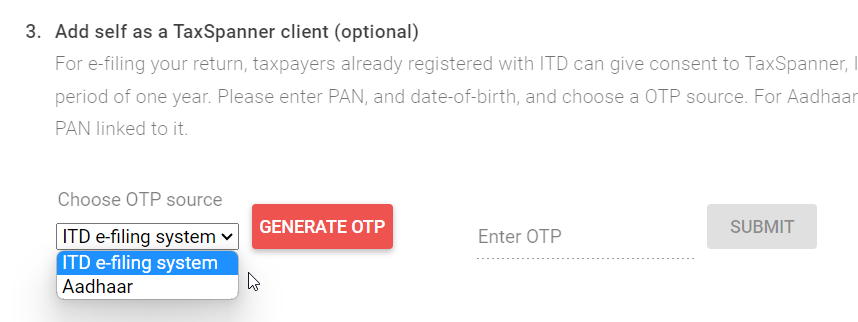
10. On this dashboard itself, step 3 will be to add Taxspanner as ERI.
11. Choose your OTP source, enter the OTP and click on Submit. This will add Taxspanner as your ERI for E-filing.
Explore TaxSpanner's wide range of calculators for your tax planning and calculations!
View Tools & Calculators